In the current environment in manufacturing, accuracy and precision in CNC machining centers are valuable commodities. CNC precision is a root cause of the quality, reliability and longevity of the completed product, this is more or less important in industries that require high precision and intricate part configurations such as aerospace, automotive and medical device sectors. Small changes in the machines can result in large problems in terms of efficiency or in critical applications of safety.
In this article, the author discusses key dimensions for accuracy assessment, geometrical and thermal errors, tools for measuring errors and finally, new approaches to compensate for errors. And by being aware of these elements it appear that manufacturers can also attain a high level of precision in the current market.
1. Factors Impacting CNC Machining Center Accuracy
Geometric and Thermal Errors
Geometric Errors
Inaccuracies are inflectionate within the mechanical layout of the cnc machines and principally derive from axis moving defects or misplacement within parts. Such errors can be linear positional, angular, and static in nature of the converted data during scanning. These errors may accumulate over time, especially affecting the X-axis, the linear positional accuracy of which most probably decreases with time and wear. Angular errors also include pitch and yaw and axial pitch and gear yaw errors are common or X and Y axis. Knowledge of these geometrical imperfections helps the manufacturer in making a niche correction and more importantly, in carrying out preventive maintenance to ensure that output parts are consistent with the expected specifications.

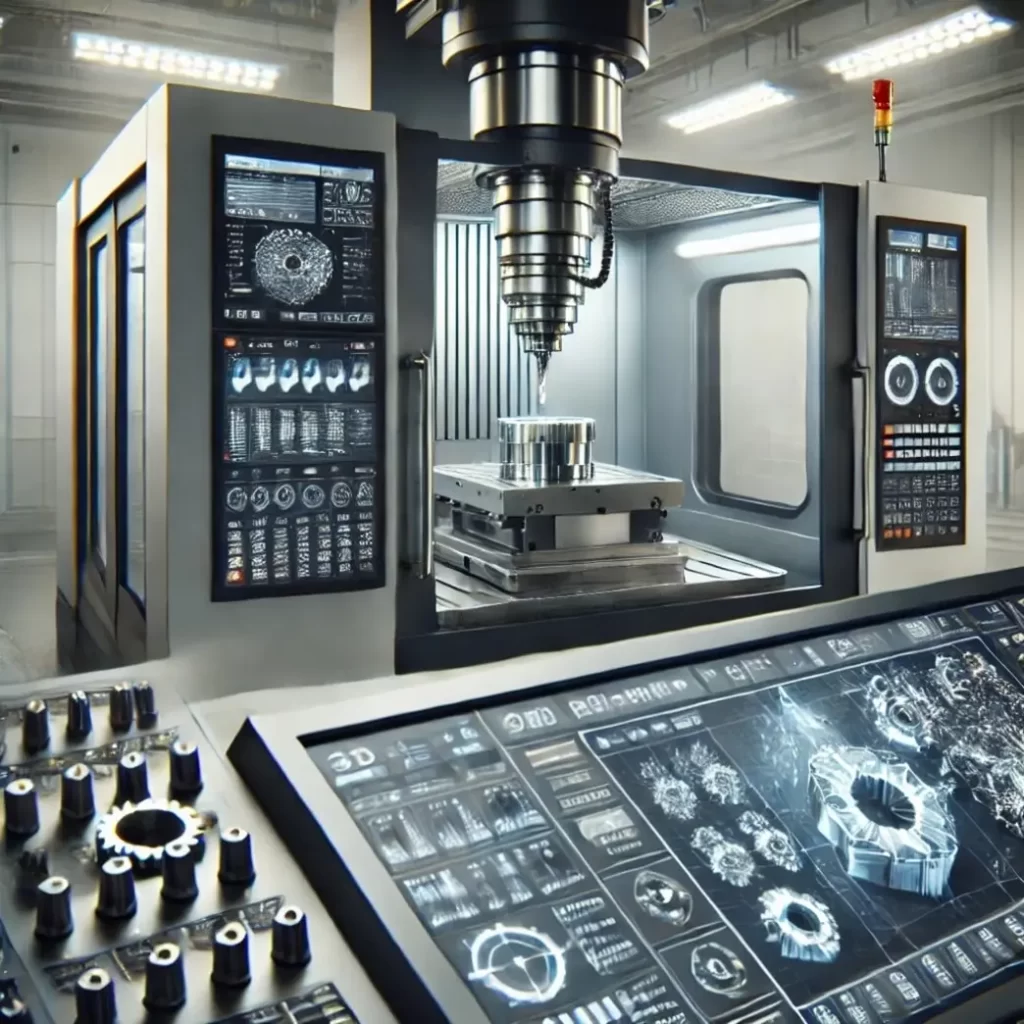
Figure 1 shows a vision of high-tech unexpected CNC machine center with an operation and stress on the accurate and precise element of complicated business applications.
Thermal Errors
Thermal effects are the other commonly seen and limiting factors in CNC accuracy. When the axis drive motors and other machine parts are in functional use, heat is produced, and this heat causes expansion of the different parts thus making them have wrong dimensions. Certainly, variations in temperatures external to the process also result to these errors. When it comes to evaluating performance of CNC accuracy, it is has been found out that maximum CNC accuracy decreases as the internal temperature of the machine rises. Eliminating thermal effects or controlling them by use of cooling systems/temperature compensation software to control small undulations on the parts formed is paramount.
2. Measurement and Compensation Techniques for Enhanced Precision
However, if geometric and thermal errors are not well addressed, their combined effects leads to smaller accuracies which if improved by manufacturing professionals with the aid of newer methods of measurements as well as compensation techniques, then leads to improved levels of CNC machining accuracy.
Laser Interferometer and Ball Bar Tests
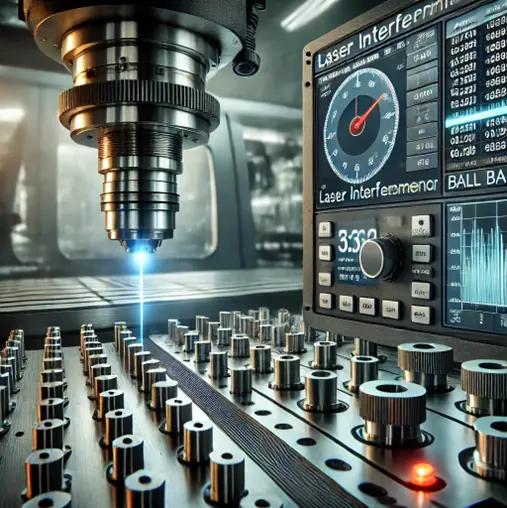
The laser interferometer and ball bar test are useful in evaluating accuracy of cnc machines. Laser interferometers quantify the accuracy of the liner positioning with remarkable detail to allow operators to detect positional loss that may affect the part. Ball bar tests determine roundness tolerance necessary for circularity, revealing problem areas involving dimension in round or cylindrical component parts. Tests collected from these are used to make needed electronic corrections as well as mechanical adjustments in a way that every part is made to meet specific measures.

Figure 2 demonstrates a CNC machine performing laser interferometer and ball bar test, displaying the measurement instruments essential in assessing and calibrating dimensional fidelity in CNC applications.
Neurocompensation
Neurocompensation can be considered a new key to improving the accuracy of CNC machining. This method includes monitoring the signal from multiple sensors together with ANNs for the prediction and detection of errors simultaneously. Neurocompensation, in conjunction with the sensors, reveals the flaws in the machine and alters the factor with the help of sensors in order to improve the precision continually. Research has established that this system can decrease maximum errors to below 4 µm thus provide ultra-precision, which is necessary for precise operations.
3. Predictive and Monitoring Approaches to Maintain CNC Accuracy
Apart from compensation methods, predictive and monitoring measures form a vital corner in maintaining CNC accuracy so that companies can be in a position to counter check those inaccuracies that affect the production process.
Data-Driven Prediction Models
Precise CNC machining parameters can be prepared using data analytical tools such as the Adaptive Neuro-Fuzzy Inference Systems (ANFIS). Such models help the operators decide where and how to modify parameters and quality indicators like milling accuracy, surface finish and so on – in order to result in minimal mistakes and overall waste. Other models such as predictive models for production consistency have been particularly beneficial in this area, more so for manufacturers who insist on attaining the highest class quality with barely any scrap.
Long-Term Monitoring
That’s why one of the best ways to maintain CNC accuracy and consistency for long periods is the constant indications control. Through such features as strain gauges as well as other factors such as the degree of stress, wear, and other mechanical changes, flaws that may affect precision are identified early enough. Experiments with VMC’s reveal a concrete benefit of monitoring over the long term by maintaining accurate geometric features over time, minimizing stress induced errors, maximizing tool life, and preventing down time. Besides the quality improvement aspect, these monitoring strategies enhance a preventive maintenance practice, and thus the production throughput.
4. Intelligent Tool Path Correction: Pioneering CNC Precision
Tool Path Correction Through Predictive Technology
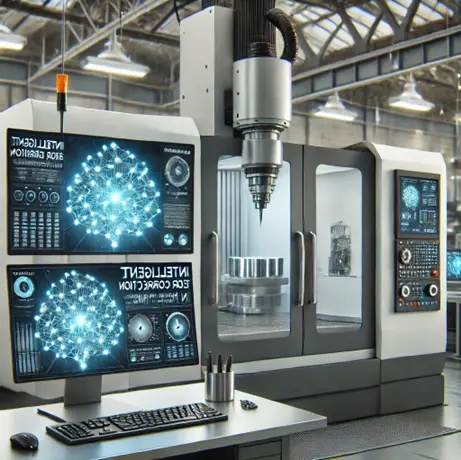
Smart motion control and compensation technique is another innovative CNC system involving the artificial neural network, to predict and modify the tool path in real time. Due to its capability to modify the shape of the tool in real-time in response to dimensional and form developments, this innovation is highly accurate in complex shapes other otherwise. Implementing these intelligent correction systems directly within CNC programming guarantees that manufacturers get correct parts every time especially, when conventional correction fails.

Figure 3 shows a CNC machining center using intelligent tool path correction technology, one of the critical factors necessary to achieve high precision in the creation of complicated parts.
Conclusion
It is well understood that the positional accuracy of CNC machining centers depends on a number of performance related characteristics such as geometric, thermal & dynamic. Employing state of the art metrics, forecasting algorithms, and wise remuneration structures is critical to getting the best levels of accuracy and quality in machined products. By activating neurocompensations, paths correction and constant monitoring, the manufactures are in a position to continue with high levels of precision with meeting high quality standards while sustaining their competitiveness in the precision machining industries. Preserving the accuracy of CNC also benefits the ability to produce perfect parts, save time, and minimize the chances for waste and subsequent work. Through purchasing of these accuracy enhancing technologies, manufacturers ensure that they provide quality products that can withstand stringent tests of industries besides meeting clients needs. In an environment where perfection is a must, attaining millimeter accuracy of CNC’s is one process leading to operational advancements and industry dominance.

